Create a bin and add books
You can create bins to organize your titles by author, series, topic, and more. Once you've created a bin, you can add books to it.
|
Note: If you do not create any bins, books are automatically added to the 'default' bin. |
To create a bin:
- Select Library > Add Books.
- Click Add a Bin. A pop-up appears.
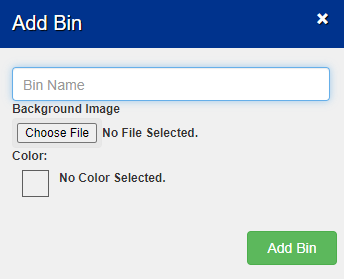
- Type a Bin Name.
- To add an image to the bin, click Choose File. Select an image from your computer, and then click Open.
- To customize the color for your bin, click
 . Then, pick a color.
 - Click Add Bin.
To add books:
You can add books to your library by choosing any of the following methods:
- Use a Follett scanner or search by title, author, or ISBN to add titles manually
To add books with a Follett scanner, scan the ISBN barcode on any book to add it directly to your library.
To find a title, author, or ISBN, do the following:
- From the Choose Bin for Books drop-down, select the desired option or leave it at default (and reorganize later).
- Use the Either Search for Books by drop-down to select Title, Author, or ISBN.
- Type a search term in the field, and then click + or press Enter. A pop-up appears.
Note: To see a particular title's details, such as reading and interest levels, click
 .
. - Find the title you want, and then click Add.
- If you cannot find the title you want, do one of the following:
- To filter your search results by author, click
 . Then, select an author's name.
 - To add a title manually, click Add Title Manually in the top-right corner. In the pop-up, enter the desired information, and then click Save.
- To filter your search results by author, click
- Scan ISBNs with a camera
- Click Scan ISBNs. A pop-up appears.
- To give your camera access to Classroom Library Manager, select the desired option.
Note: When your camera is enabled, a window frame appears in the Scan ISBN field.
- From the Choose Bin for Books drop-down, select the desired option or leave it at default (and reorganize later).
- Use the drop-down to select a Funding Source (optional). If you do not see the desired source, click Add a Funding Source to create a new one.
Notes:
- The Bin Name and Funding Source you select are automatically applied to every book you scan.
- The data on each book comes from Titlewave®. You can edit this information by clicking the book's cover image.
- In the Scan ISBN field, use the drop-down to select your camera (if there are multiple options).
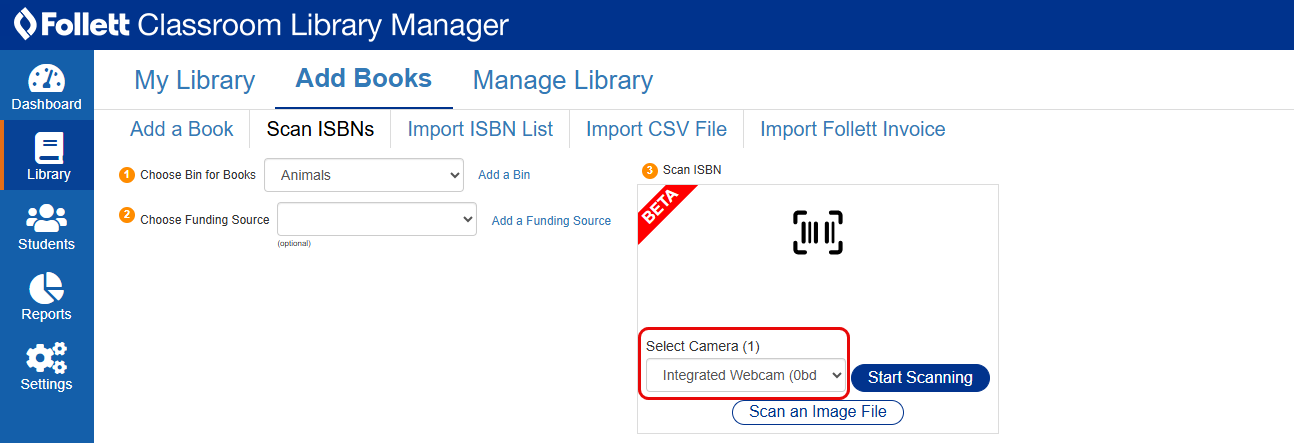
- Do one of the following:
- Click Start Scanning.
- Position the book so the ISBN barcode appears within the camera frame. A message lets you know the book was added to your library. Repeat this step for each book you want to add.
- When you are done, click Stop Scanning.
- Click Scan an Image File. Then, click Choose Image to select the desired ISBN barcode file from your computer, or drag and drop the image into the box. Repeat this step for each file you want to add.
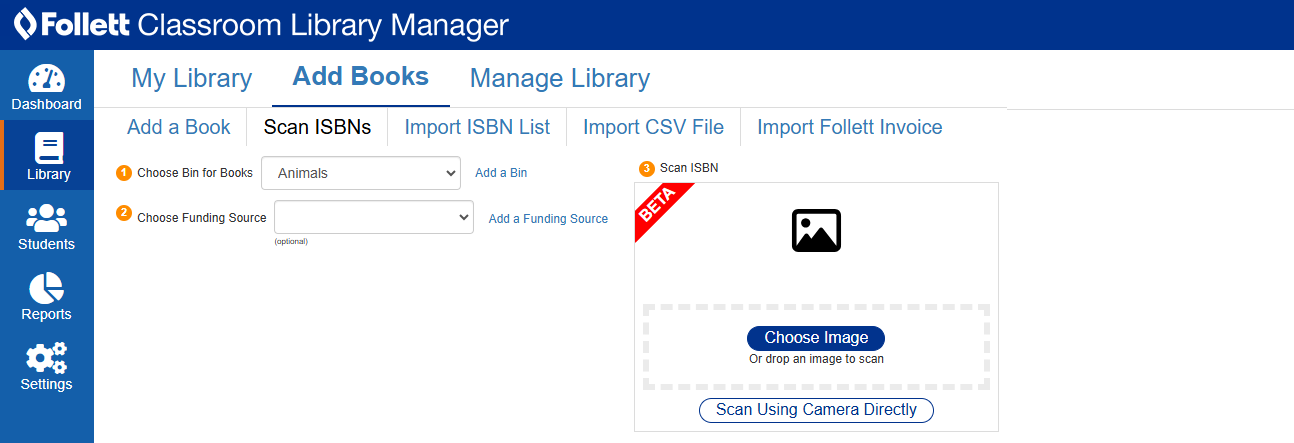
- Click Start Scanning.
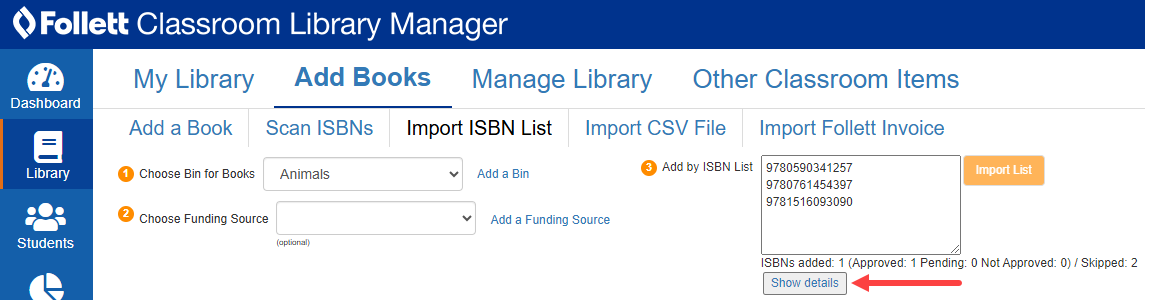
- Import an ISBN list
- Click Import ISBN List.
- From the Choose Bin for Books drop-down, select the desired option or leave it at default (and reorganize later).
- Use the drop-down to select a Funding Source (optional). If you do not see the desired source, click Add a Funding Source to create a new one.
Note: The Bin Name and Funding Source you select are automatically applied to all books in the imported list.
- In the Add by ISBN List field, copy and paste a list of ISBNs from a spreadsheet.
Note: If you are entering ISBNs manually, they must be on separate lines. You cannot add a space or comma between each ISBN.
- Click Import List. The titles appear in your library.
Note: Some titles might be skipped if there are duplicate ISBNs. To add an ISBN manually, you can do the following:
- Click Show details.
- The Import Details pop-up appears.
- To copy the details, click Copy to clipboard.
- Paste the information into your own document.
- Add the titles to your library.
- Click Show details.
- Import a CSV file
- Click Import CSV File.
Notes:
- A CSV file only needs to include a list of titles to be imported. Additional information, such as authors and ISBNs, are optional.
- If you need an import template for your list of titles, do the following:
- After selecting Add Books > Import CSV File, click Get Import Template. A pop-up appears.
- Click Download Template. The template downloads to your browser.
- From the Choose Bin for Books drop-down, select the desired option or leave it at default (and reorganize later).
- Use the drop-down to select a Funding Source (optional). If you do not see the desired source, click Add a Funding Source to create a new one.
Note: The Bin Name and Funding Source you select are automatically applied to all books in the imported list.
- Click Browse, and then select the desired CSV file from your computer.
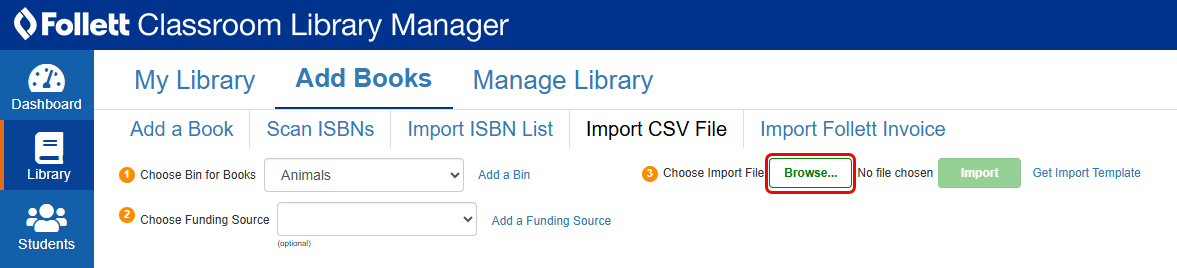
- Click Import. The Verify CSV File pop-up appears.
- Click Import CSV. The titles appear in your library.
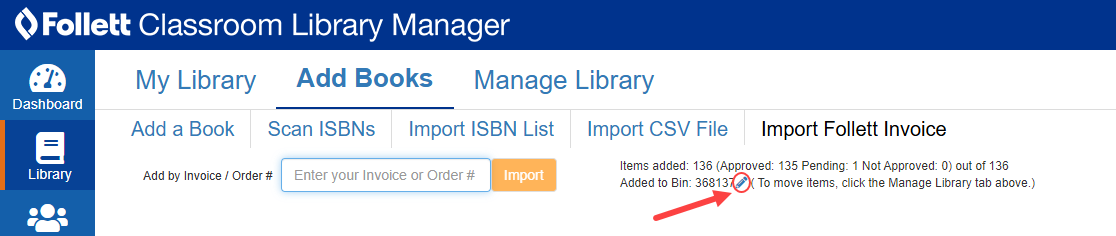
- Import a Follett invoice
- Click Import Follett Invoice.
- In the Add by Invoice/Order # field, type the number.
Note: This number appears in the top-right corner of your packing slip.
- Click Import. The Verify Invoice/Order pop-up appears.
Notes:
- If you previously added the order, a message lets you know it has been imported into your library. You cannot import it again.
- If another classroom added the order, a message notifies you of this. You can choose to import it again.
- Click Import Invoice. The titles appear in your library.
Note: When you import an order, the invoice number automatically becomes the bin name. To edit the name, click
 .
.